What:
The main brief of this assignment was to take a number of portrait photographs
where the portraits differed in style.
Where:
At home, Outdoors and Indoors
When:
Various times of the day.
How: Before I started I cast a wide net for ideas including;
photography magazines, a number of books on film, National Geographic and some calendar
shots.
The
ideas we decided to try were:-
Sitting
Face on, head and shoulders
Reverse chair, dark background
Against a wall with knees drawn up
Standing
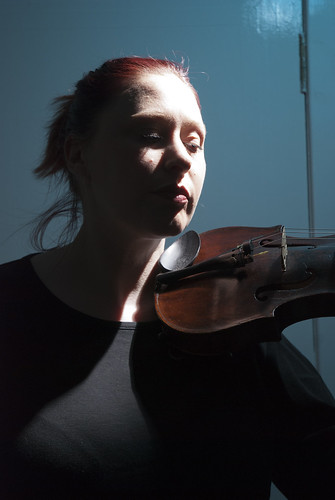
First Fiddle Shoot
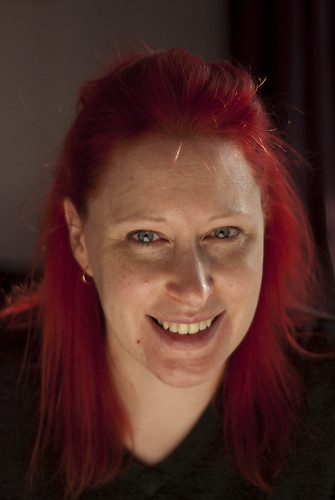
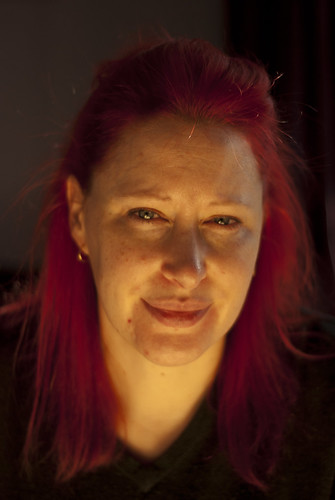
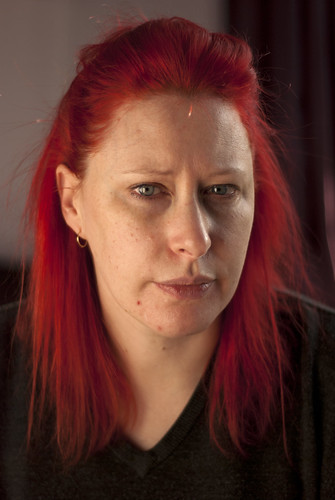
For the
first shoot I referred back to the basic lighting
shots exercise, but this time switched off the room lights. I used a single,
remotely-fired flash and moved in and out with the framing, adjusting the power
of the flash accordingly so that it did not overexpose the image. I wanted to
get a get an image of Lindsay with her fiddle. At first the images were too
dark and I had to start all over again. This time I used a cloth backdrop to
prevent the flash being reflected from the white cupboard doors in the
background and kept the room lights on. I had to move the flash around a bit
until I obtained the lighting and expression that I wanted.
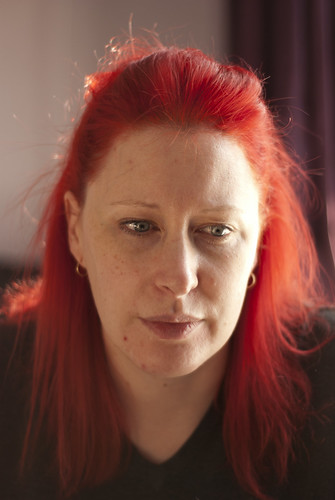
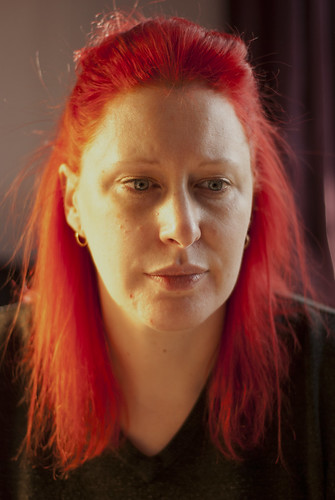
Wrong Lighting on
First Shoot – DSC_005
Nikon D80,Exposure Mode Manual,
focal length 50mm (35mm equivalent 75mm), aperture f4.5, speed 1/180 second,
ISO 250, Shade white balance, Spot metering, tripod mounted camera, 18-70mm
lens.
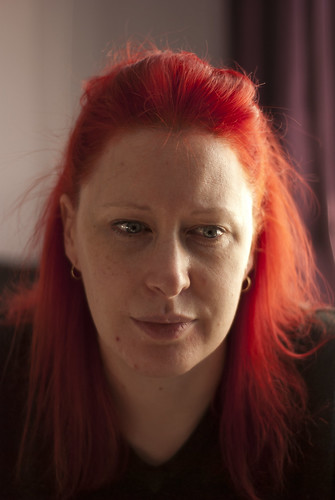
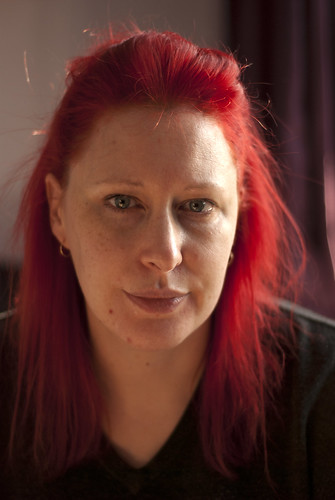
Snoot Not Working – DSC_001
Nikon D80,Exposure Mode Manual,
focal length 50mm (35mm equivalent 75mm), aperture f4.5, speed 1/180 second,
ISO 250, Shade white balance, Spot metering, tripod mounted camera, 18-70mm
lens,
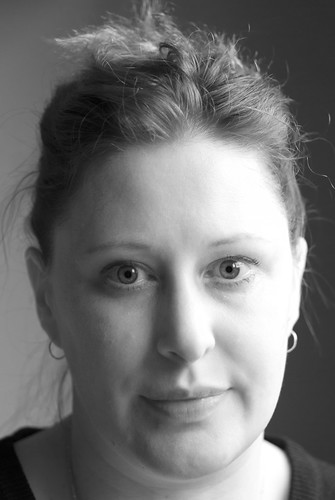
Simple Face Portrait
in Monochrome
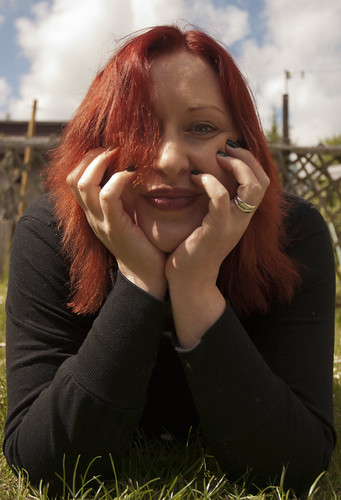
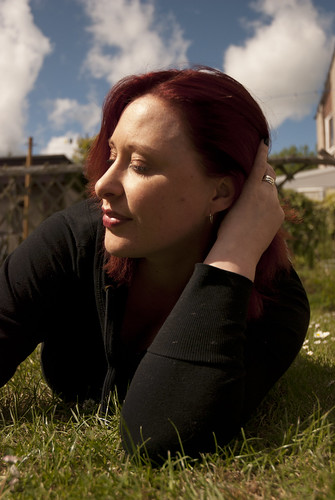
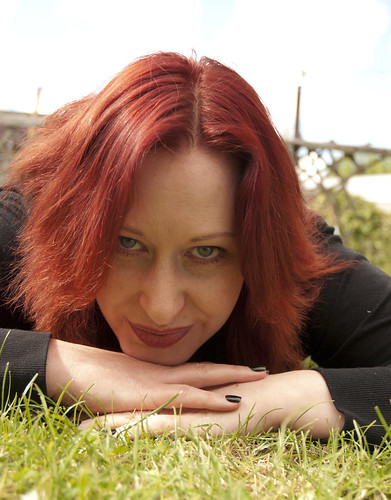
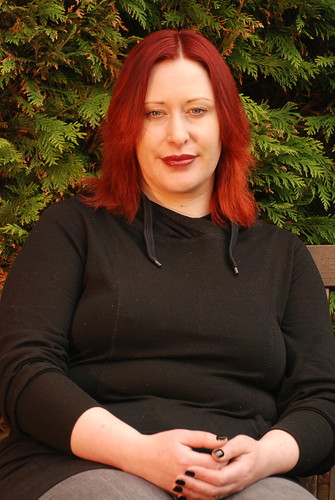
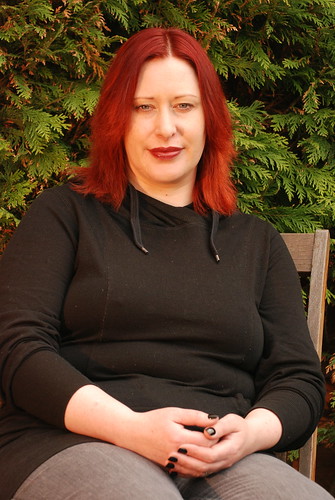
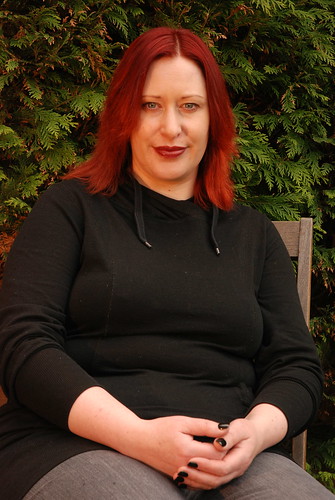
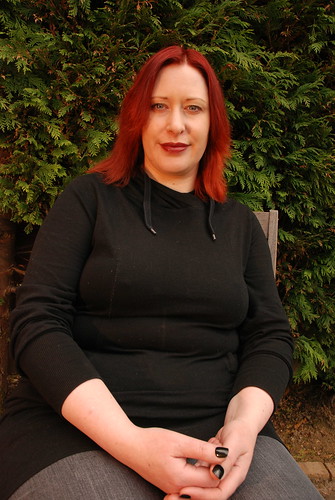
After that I decided to try an outside shoot. I started by having
Lindsay just sitting on a chair and after positioning the camera slightly
higher than her head height, I used the natural light to capture the image. I
turned the image to monochrome as it looked better.
DSC_0068
Nikon D80,Exposure Mode Manual,
focal length 105mm (35mm equivalent 157mm), aperture f/3.2, speed 1/90 second,
ISO 320, Shade white balance, Multi Segment metering, tripod mounted camera,
105mm lens,
We went back inside for two shoots, inspired by the painted portraits
I had seen in the National Portrait Gallery. In this session I wanted to try several
shots, with a 50’s, 60’s and 80’s spin. The lighting set up ‘worked’, so I used
it for all of the following.
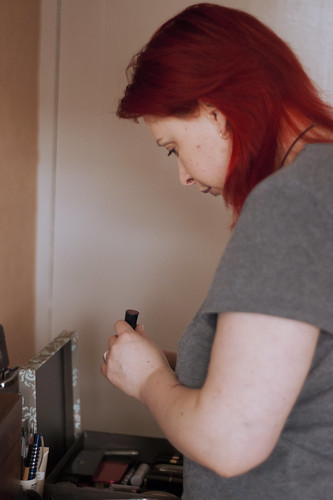
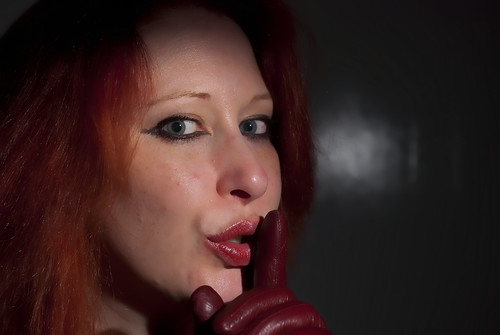
Red Glove
While
working on this image I went from landscape to portrait and back to landscape.
I wanted to be able to capture just part of Lindsay’s head and hand against the
dark background. I used a dark grey muslin cloth to cover the background to
prevent reflection, allowing me to position the camera as I wanted and have the
flash fire from beside me pointing over her left shoulder. This prevented her
face from being over exposed and bleaching the glove.
DSC_0020
Nikon D80,Exposure Mode Manual,
focal length 50mm (35mm equivalent 75mm), aperture f4, speed 1/180 second, ISO
100, Flash white balance, Spot metering, tripod mounted camera, 50mm lens,
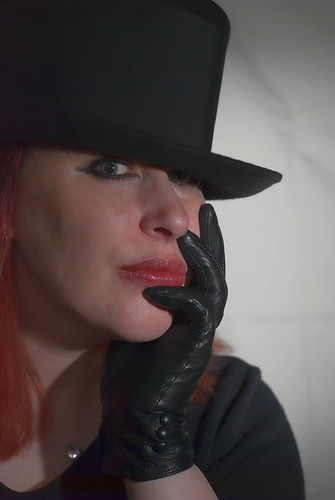
Black Hat
Lindsay and I had discussed this idea while working on the red
glove portrait. Initially I wanted to produce a close-up of her face in the
style of a ‘club’ banner. However during a discussion on the fabric of the
gloves, we ended up getting sidetracked onto the idea of the hat and having her
lean on her gloved hand. I used a lighter background, which was slightly
reflective as I did not want to over-expose the back of the image and I wanted
a slight reflection from the background to stand in for a back light.
DSC_0040
Nikon D80,Exposure Mode Manual,
focal length 50mm (35mm equivalent 75mm), aperture f4, speed 1/20 second, ISO
100, Flash white balance, Spot metering, tripod mounted camera, 50mm lens,
Fiddle
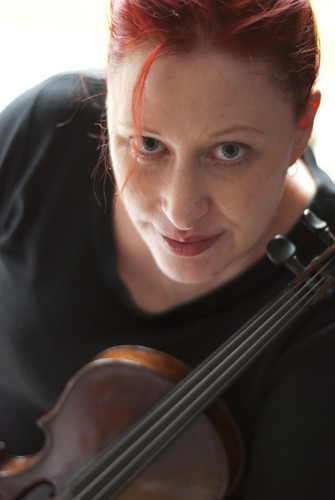
In the
last set of images; I incorporated one of Lindsay’s hobbies. She is quite a
musical person, so I wanted to get at least one image of her with her fiddle.
When I first shot this, the images were a complete disaster and I lost a bit of
heart with the assignment.
Not
wanting to be thwarted, however, I returned to the challenge, this time deciding
to keep the image full of light rather than just using one flash. We worked in
two sessions on this. The first session was beside a window where there was a
lot of natural light. While she was sitting down, I raised the camera to quite
a high height and shot down towards her face as she looked up into the lens. I
was pleased with the final result as she was not too underexposed compared to
the background.
DSC_0074
Nikon D80,Exposure Mode Manual,
focal length 50mm (35mm equivalent 75mm), aperture f1.8, speed 1/30 second, ISO
320, Shade white balance, Spot metering, tripod mounted camera, 50mm lens,
DSC_0078
Nikon D80,Exposure Mode Manual,
focal length 44mm (35mm equivalent 66mm), aperture f4.3, speed 1/8 second, ISO
1250, Auto white balance, Spot metering, tripod mounted camera, 18-70mm lens,
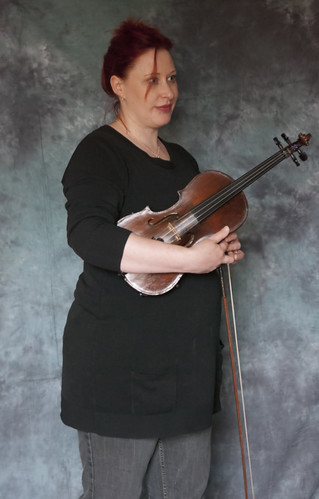
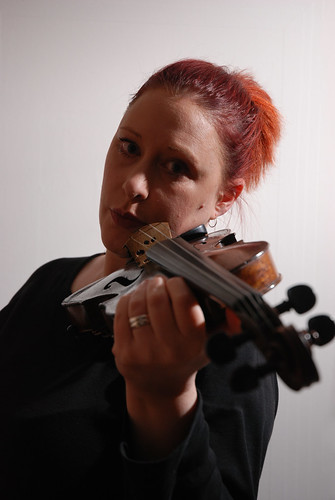
For the second
shoot, we returned to the room with the background and shot a few images there.
Lindsay stood against the background, playing her fiddle while I positioned the
camera directly in front of her and photographed her down the length of the instrument.
DSC_0090
Nikon D80,Exposure Mode Manual,
focal length 50mm (35mm equivalent 75mm), aperture f8, speed 1/8 second, ISO
3200, Shade white balance, Spot metering, tripod mounted camera, 50mm lens,
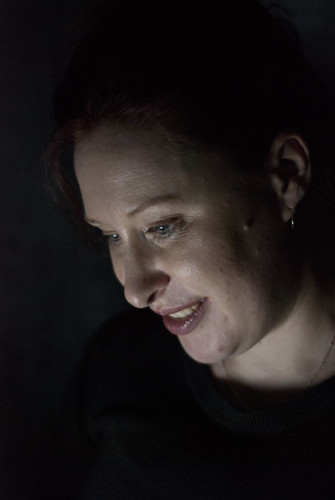
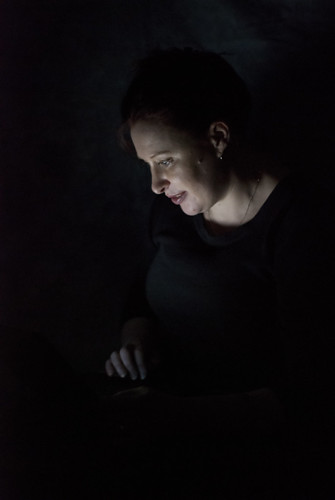
Laptop
I wanted
to produce one image with completely artificial light, but not using a flash or
a torch. I hit upon the idea usually used in sci-fi or action films were the
person’s face is lit up with the light from the screen. We waited until it was
dark and then closed and sealed the curtains to keep out any light. I had
Lindsay wear a dark wool jumper, sit on a low stool and open her netbook. I
then had her look at a blue background screen and then a white word document to
obtain differing colours of light. I took two images; one from a distance where
her body is slightly defined by the light from the screen, the second image a
close up of her face being lit by the white light from the screen.
DSC_0101
Nikon D80,Exposure Mode Manual,
focal length 50mm (35mm equivalent 75mm), aperture f1.8, speed 1/20 second, ISO
1250, Flash white balance, Spot metering, hand held camera, 50mm lens,
DSC_0103
Nikon D80,Exposure Mode Manual,
focal length 50mm (35mm equivalent 75mm), aperture f1.8, speed 1/20 second, ISO
1250, Flash white balance, Spot metering, tripod mounted camera, 50mm lens.
I did
find this assignment quite difficult as every time I hit a problem, I would
lose a bit of momentum and hope; partially due to my ongoing illness. In the
end however I believe I have managed to produce a number of good images that I
am personally pleased with.